Interested in Fly Tying? Tips to Get Started!
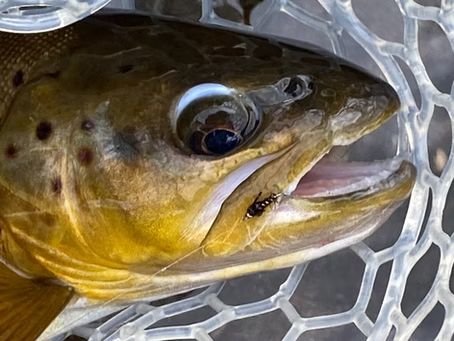
There is nothing quite like landing your first trout on a pattern you tied. It’s a special feeling that really bring the entire sport full circle and makes you feel more connected to the entire process. My first trout caught on a ‘home tie’ was a very (and I mean very) poorly tied Juju Baetis.
We know that getting started can be intimidating, we’ve been there! Millions of patterns and materials, expensive equipment and a whole new skill set like nothing you’ve ever done (most likely).
Here are our top tips to getting started without breaking the bank or getting overwhelmed:

1) Take a Free Local Tying Class
That may be challenging at the moment, but typically local fly shops and breweries will host free fly tying nights. They’ll bring the equipment you need and teach you the basic techniques to get started. Figure out if it is something you’ll enjoy or not at no cost!
2) Books & Learning
There are hundreds of fly tying books and online resources available. A quick google search will pull up 10 different videos for the same pattern. But if you want to learn to tie in a manner that helps you build upon different techniques and skill sets, dive in to a book.
I made this mistake… Started by just googling patterns I wanted to fish, not understanding the foundations of tying. It was two steps back and one step forward for a long time.
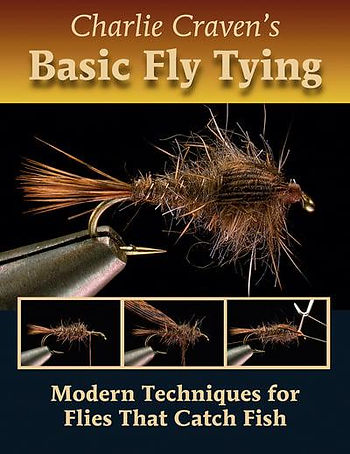
I finally purchased Charlie Craven’s Basic Fly Tying and was blown away! How much time I had wasted by just trying to imitate videos when I could’ve developed a strong foundation of understanding from the start.
From there you can get more specifics books based on the types of flies you will be fishing.
Pat Dorsey’s Tying & Fishing Tailwater Flies is one of our favorites as we’re based in Colorado and fish tailwater constantly. There are tons of different books catered to dry flies, streamers, tailwater patterns, saltwater and much more.
As an added bonus, there’s usually some great fishing tips in each one of these books from some of the top guides in the world.
3) Equipment – Budget Style
There are a a handful of items you’ll need to get started including:
1) Tying Vise (this is what holds your hook while you tie)
2) Tying Tools (Thread Bobbin, Whip Finisher, Scissors, Threader, Hackle Pliers)
3) Tying Materials (hooks, beads, thread, wire, feathers, etc.)
4) LED Light
If you’re still feeling the hobby out, go buy a cheap starter set for around $50. I used my starter vise until it finally broke from traveling every week. Skip the sets that include tying materials as these are cheap materials that will just cause frustration.
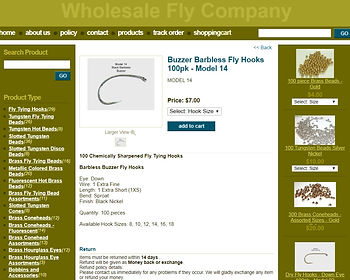
Buy some inexpensive hooks to learn on, don’t go straight to high-end/ expensive hooks like Tiemco. Once you’ve gotten a pattern down and are ready to put it to the test, then tie with your nicer hooks.
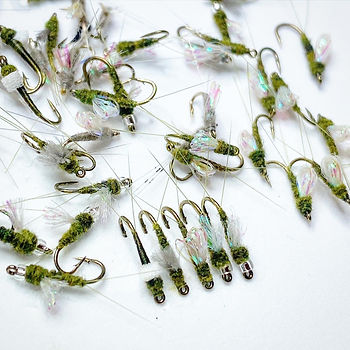
For your other materials, go with some simple patterns. We recommend starting with some midge patterns. All you really need is hooks, thread, small wire and some beads. You can get started with 10 or so easy patterns at a very low cost.
4) Equipment – Want to Buy Once
If you know this is going to be a long-time hobby, invest in quality equipment and supplies.
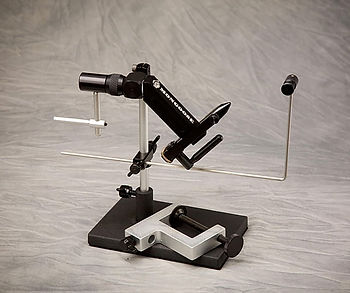
1) Vises: There are a lot of very high quality vices that run a large price spectrum from $150 – $600+. Popular brands include Dynaking, Regal, Renzetti, Peak. One of our favorite value vices is the Griffin Montana Mongoose Vise at around $220. We love Dynaking as well.
2) Scissors: Arguably the most important piece of equipment you have. You’ll want a pair of sharp/ thin scissors to cut your thread and a less expensive piece of scissors to cut wire/ synthetic materials. Your best option is, with no contest in our opinion, Dr. Slick scissors.
3) Materials: If you’re comfortable with your patterns and are ready to throw them to some feeding trout, we recommend Tiemco. They are the strongest hooks on the market. There are a handful of other great brands, but we prefer their sizing and hook styles over most.
Invest in quality feathers- saddles, neck hackle, partridge, etc. You’ll just end up frustrated buying the cheaper stuff and those will last you much longer.
Invest in different threads- some lay flat, some are corded, sizes are all over the board. Take some time to understand when and why to use different styles.
Follow the recipes to your best ability early on. Especially when it comes to thread style. The designers list each material for a specific reason. There are plenty of items you can substitute, but keep it as close as possible.
Enjoy the Progress!
Seeing your patterns improve over time is an incredible feeling. In fact, you’ll probably advance so quickly over your first couple of years that you won’t want to fish some of your older patterns. That’s where a razor blade comes in hand to strip them! Don’t waste those hooks.
Start simple and progress. Master a pattern and then move on to a new one with one additional component or technique. That could be learning a Hare’s Ear and then learning to creating your own Hare’s Ear dubbing straight from the mask or moving from a Wooly Bugger to a Thin Mint that involves multiple colors of maribou.
Have fun, don’t take it too seriously and put in some hours behind the vise! It’s incredibly relaxing and rewarding, and teaches you a TON about bugs and their different stages.
Tight lines!
Fishing The Good Fight